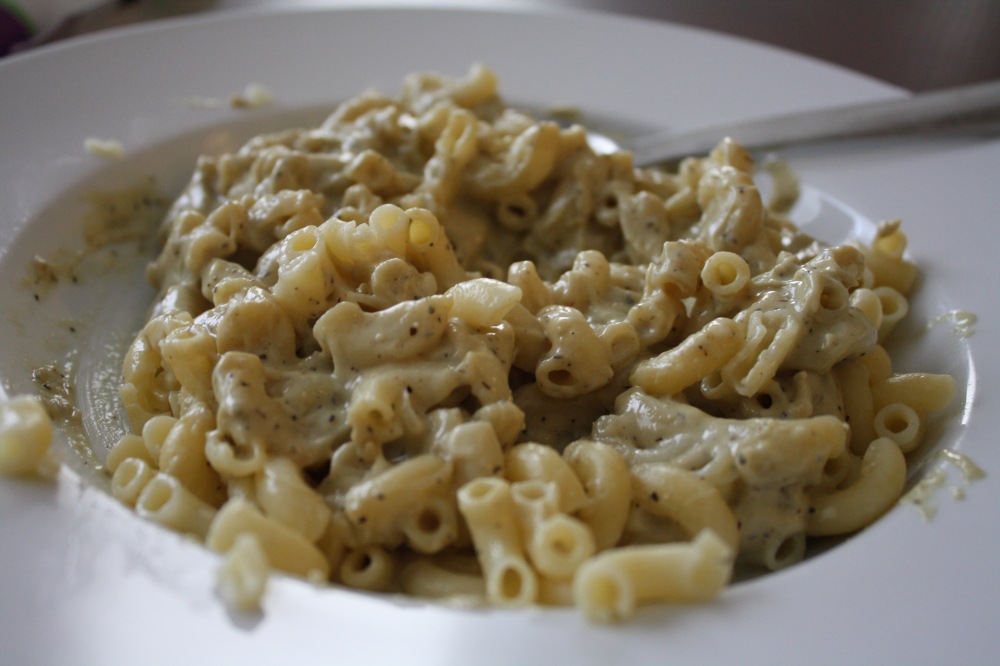
Friday night we had garlic mac ‘n cheese from Minimalist Baker. I thought that since I’ve tried a lot of different versions of mac ‘n cheese, why not try another one? Besides, it sounded intriguing and I’ve never roasted garlic before.
You start out by roasting garlic. Why roast the garlic? By roasting it you get a milder, sweeter flavor. Besides, it’s fun to squish it out after it’s done roasting. Roasted garlic is good as a spread. But you’ve never roasted garlic and don’t know how to do it? Don’t worry. Neither did I.
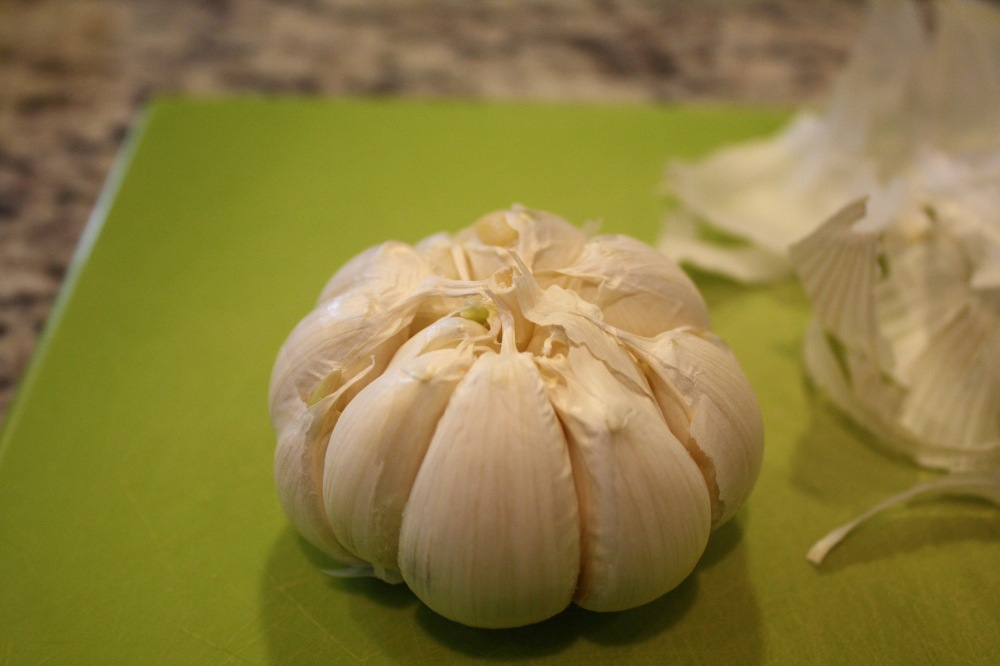
First you’ll take a whole head of garlic and peel the outer skins off, but try to leave the cloves intact.
Then you’ll slice a bit off the top of the bulb.
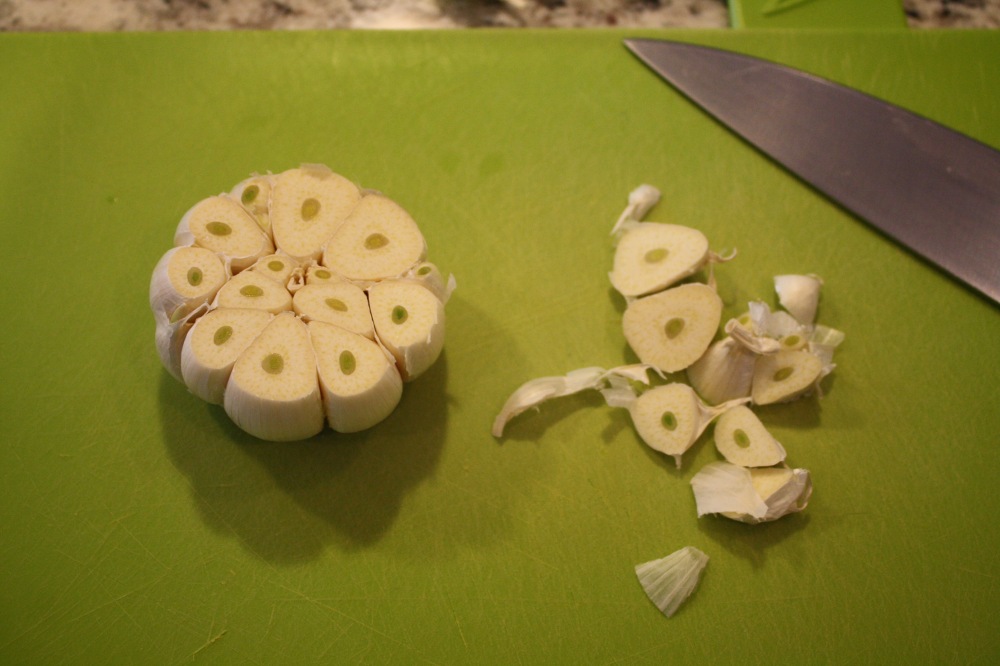
Place the bulb in some tin foil, drizzle it with olive oil, and sprinkle it with some salt. Then loosely wrap it up and put it directly on the rack in the oven at 400. She says to let it roast for 45 min – 1 hr. I picked a happy medium and left mine in there for 50 min.


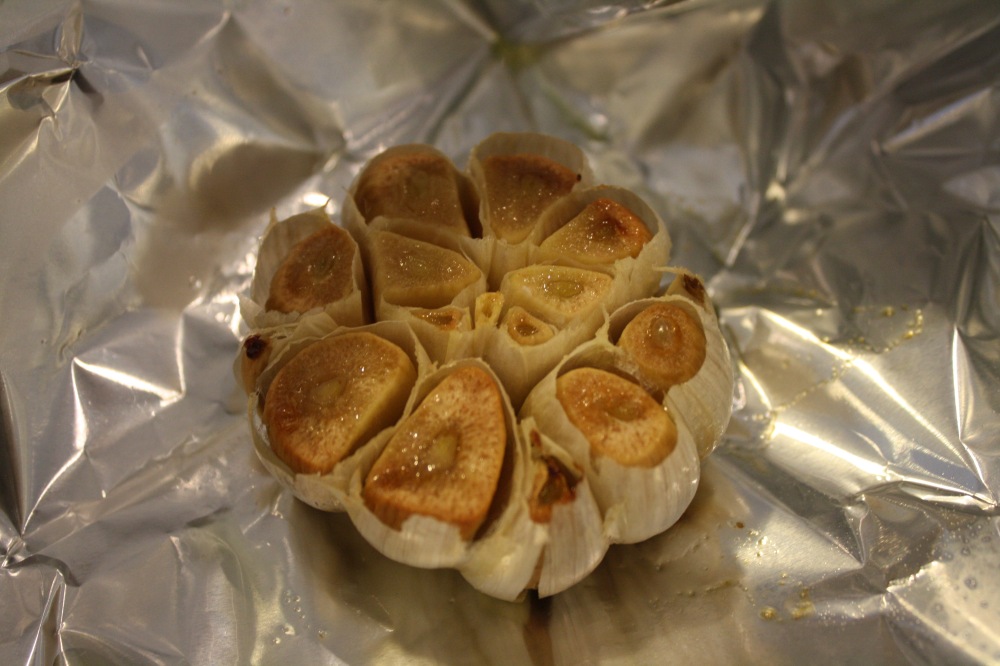
When it’s done, and after your house has this lovely aroma of garlic, unwrap it and let it cool because you’re going to squeeze all of that out.
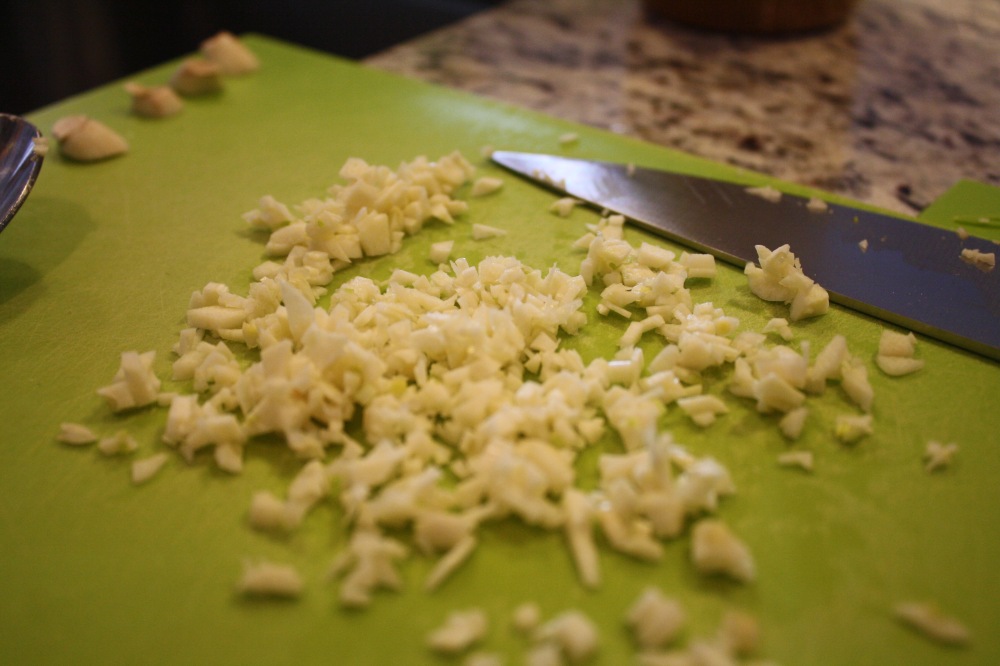
While my garlic was roasting, I went ahead and chopped up the five cloves of garlic. If you’re like me and HATE having your fingers smell like garlic, just rub them along your stainless steel sink…or anything stainless steel for that matter. It removes the garlic smell from your fingers like magic. However, I try my best not to touch it even though I know I can rub my fingers along the sink.
I also went ahead and got the 4 Tbsp of flour ready. Because you know when you’re making something like this there’s no time to go in the pantry, dig out what you need, find a measuring cup or spoon, and measure it out.
This is what the roasted garlic looks like when it’s done, by the way.
So go ahead and sauté your 5 cloves of garlic in oil. When they’re done add your flour and mix. Then add your milk of choice 1/2 cup at a time. I ended up adding all 2 1/4 cups of soy milk and then some.
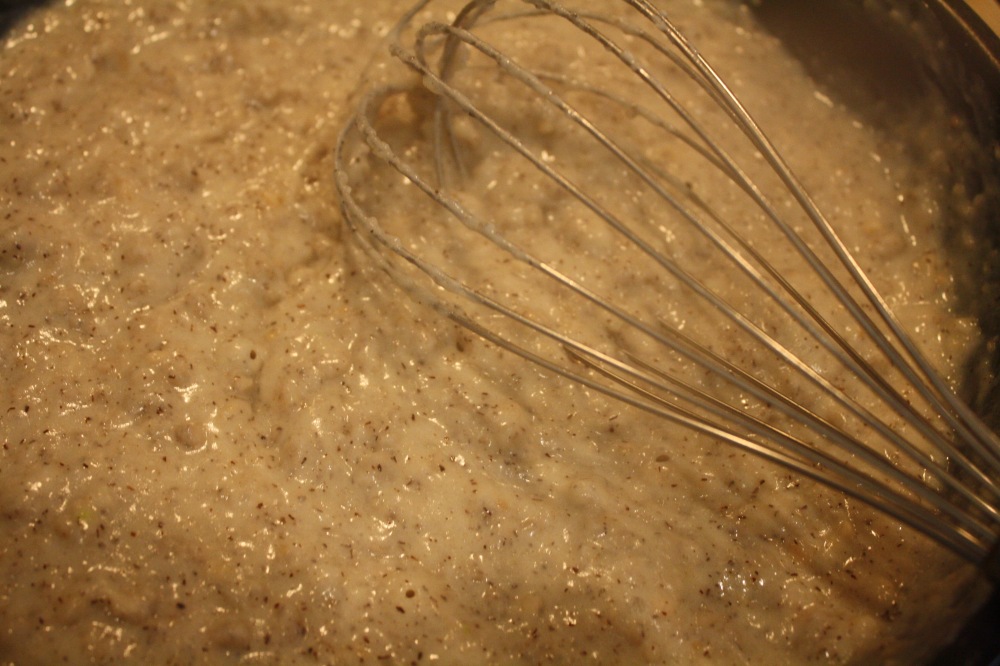
Make sure everything is mixed and as close to clump free as you can get it. Don’t worry if there are still tiny clumps because you’re going to put it in a blender.
Add the mix to a blender, squeeze in your roasted garlic, add the nutritional yeast, salt, pepper, vegan parmesan cheese, and then blend.
When I did it, it was a bit too thick. You know how when your Vitamix makes this funny sound because whatever it is you’re trying to blend is too thick? Mine did that and I thought “OMG, I just broke it!” You can see the layers in the photo below.
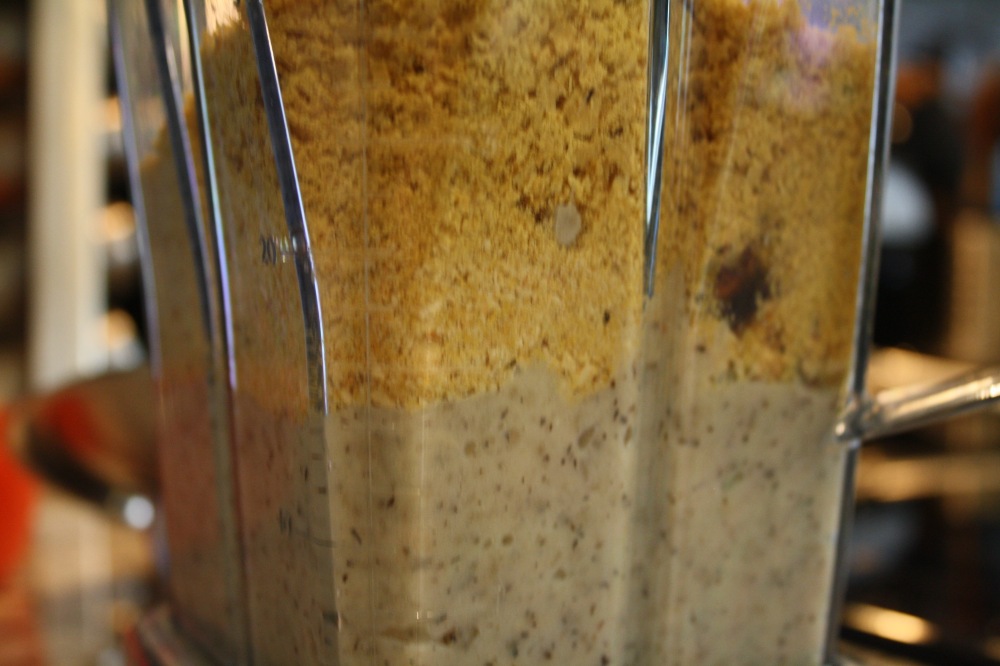
I ended up adding more soy milk to get it to thin out some. I can’t tell you how much I used. I just poured, mixed, poured, and mixed until it was just right.

When the consistency is just how you want it, add it back to your pan and keep stirring until it thickens up a bit. This is where you’ll adjust your seasoning too. When you’re done, all you have to do is mix it with your pasta of choice!
Just before serving she says to add some nutritional yeast and bread crumbs, and then broil. I TOTALLY forgot to do that part. I’ll have to remember to do that next time I make this.
This dish was seriously good. The little one had 2 bowls of it, and the Hubs went back for seconds as well. I don’t think this is something to do on a busy weeknight, but DEFINITELY on a Friday night or weekend.
I won’t be posting on the blog next week and into the middle of next week. We are going home and then going to Charleston, S.C. for my Mom’s wedding. But don’t worry, I will continue to post photos on my Instagram and twitter so you can follow me there. I’m definitely going to be reporting back with some vegan options if you’re ever going to be traveling in Charleston, S.C.; Augusta, G.A.; and the airports I’ll be going through.

This looks yummy. Charleston, SC is beautiful 🙂 enjoy
LikeLike
Thank you! I LOVE Charleston. I used to go there a lot.
LikeLiked by 1 person
That looks seriously good! Must try it in June! X
LikeLike
I’ll make it for you.
LikeLike